Originally created as a contributor post for Love The Day!
Can you believe we’re already into summer?! I can’t wait for all the summer parties but especially 4th of July festivities! From bike parades, to barbecues to fireworks, there’s so much fun to be had all day and there’s nothing better than easy 4th of July party favors to send your guests home with after a day full of fun.
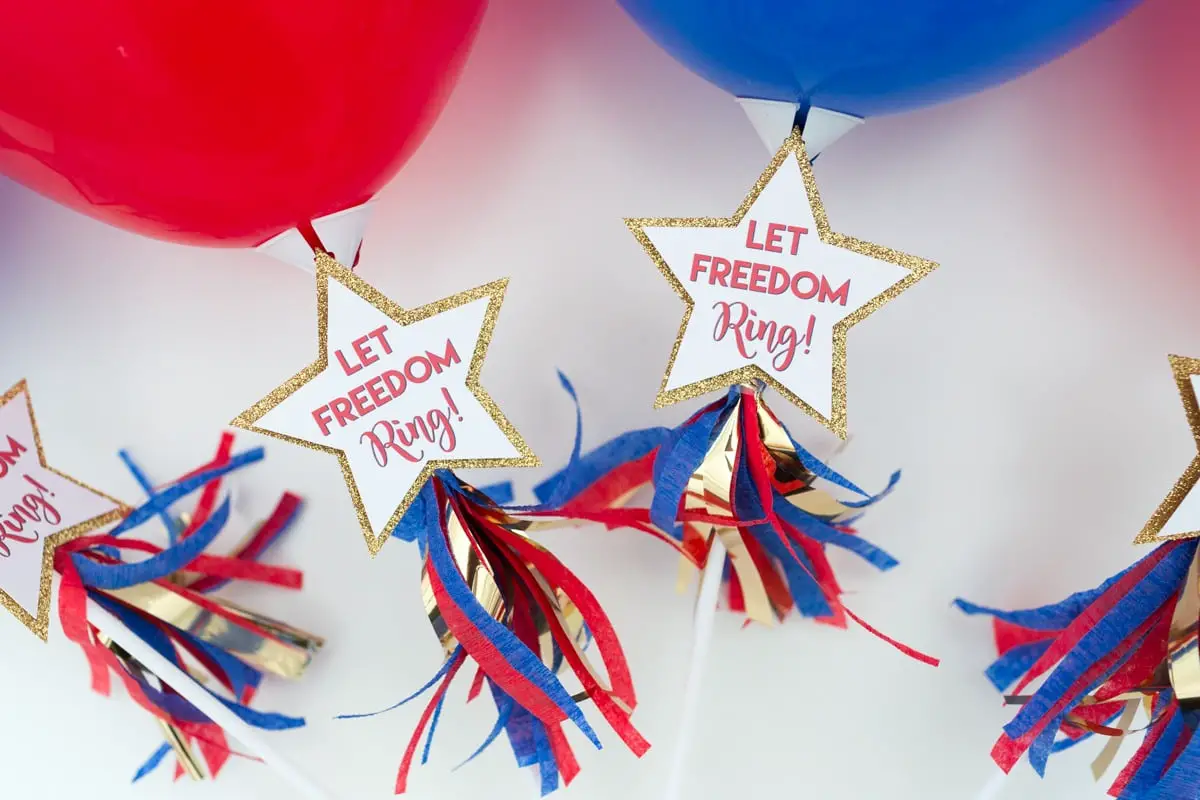
If there is one thing I’ve learned over the years, you can’t go wrong with balloons, especially balloon wands. Today I’m showing you how to make patriotic balloon wands for all your guests to enjoy!
This post may contain some affiliate links for your convenience. Clicking these links will help support this blog so I can keep creating things to share with you, but you will never pay more by using an affiliate link. Click here to read my full disclosure policy.
Materials Needed:
- 9 inch Red & blue balloons
- Balloon sticks (I have these and they work great!)
- “Let Freedom Ring!” printable (free download)
- Cutting machine or scissors
- Gold glitter cardstock
- Square adhesives
- Red, blue, gold tissue or crepe paper
- Glue & glue gun
Instructions:
Download your free printable and upload it to the Cricut design space.
**If you don’t have a cutting machine you can print out the tags and cut out stars around the print by hand. You could also just use plain cardstock stars and skip using the tag, the balloons will be just as cute!
You’ll want to create two star shapes, one large and one a little bit smaller. Use the print then cut feature to print the star with the printable and then cut the 2nd larger star. I cut the larger star on gold glitter cardstock but you could use any color you’d like!
Once both stars are cut, I used a square adhesive to attach the two stars. I like when there’s a little extra dimension so that’s why I use the square adhesive. Glue would work just fine as well.
Next, assemble the balloon stick. I often use hot glue to attach both parts so the stick doesn’t come apart. I’ve found that kids aren’t as easy on the balloon wands so it helps to make them a little sturdier.
Once the balloon stick is assembled you can blow up your balloon with a balloon pump (no helium necessary for these!) and place it in the cup.
The final step is to add a tassel and the tag. If you’ve never made tissue tassels before, Elise from Polka Dotted Blue Jay just created an awesome tutorial here. The tassels shown on these balloon wands are smaller than her tutorial so feel free to adjust the size and colors to your liking.
I love balloon wands because the supplies are easy to keep on hand and they’re always a hit with the little ones. They’re also really versatile if you want to change out the tags or add more tassels. However you decide to customize them, I hope you and your guests get to enjoy a festive 4th of July holiday!
If the balloon wands are a hit with your kids, we also have these Minnie Mouse balloon wands that are always a fan favorite!
Follow Creative Mom 101 on social media for more kids activities, crafts, and DIY projects for celebrating life’s moments big and small!
All photos by Creative Mom 101.

