I just LOVE this time of year and there is so much to celebrate! Maybe it’s living in the desert and/or all of the Hallmark Christmas movies I’ve been watching, but a winter wonderland is all I want for Christmas! My four-year-old niece is convinced that it is going to snow this year so I channeled all of that hope into this children’s party inspired by the Rustic Holiday collection from Anders Ruff.
Some of my favorite details from this celebration are:
- The Happy Holidays banner with kraft paper backing
- The trees and greenery covered in “snow”
- The hot cocoa ornaments hanging on the tree
- The party favor boxes filled with ready-to-decorate ornaments
- The place settings nestled in the pine garland
Kicking off this party is the “Happy Holidays” banner from the Anders Ruff Rustic Holiday collection. I added a kraft paper backing to tie in the neutral colors from the printable collection and used red and white twine to give it another pop of color.
I love a good dessert table but when it comes to kids parties, I like to keep it simple. I usually stick to two or three sugary treats or snacks and try to decorate the table by incorporating the party favors.
For this celebration I made a plain white vanilla cake from a box mix. To dress up the cake and go along with the printables, I added a “Merry Christmas” topper from Michaels that I painted red. I also covered the cake in white sugar sprinkles to act as snow.
To bring in more color, I used red ceramic bowls, also from Michaels, and filled them with white chocolate covered pretzels decorated in festive sprinkles and holiday colored hard candy.
For the first party favor I made hot chocolate ornaments. They’re plastic ball ornaments from Michaels that I filled with hot cocoa powder, sprinkles and marshmallows. I used the gift hang tags from the Anders Ruff printable collection to give them some holiday cheer, and hung them on the tree like normal ornaments as a fun and festive way to dress up the party.
For the other take home party favor, I created ready-to-decorate ornament boxes. I filled each miniature kraft gable box with a white laser cut snowflake, glitter, sparkly pom-poms, and a glue tube for each child’s own crafting. I always think it’s special to send the kids home with something they can keep, so their own personalized ornament definitely does the job. I also added the “Be Merry This Christmas Season” gift hangtags from the printable collection to give them a more personalized touch.
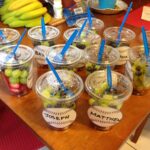
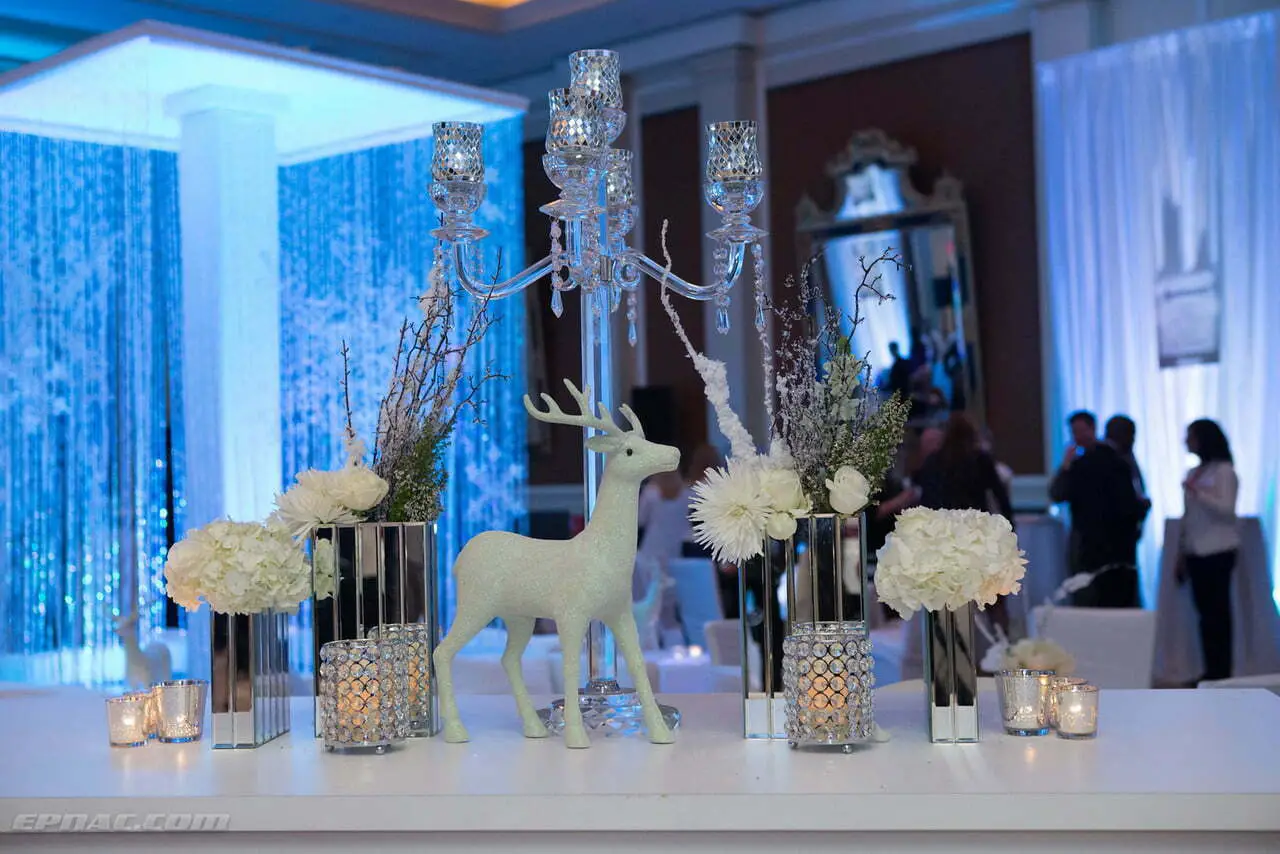
I absolutely loved the trees, greenery and deer details from the Rustic holiday printable collection so to incorporate those details into the dessert table, I added a snow flocked green garland and 2 white deer. Dasher and Prancer didn’t want to miss out on this party! I used the flat party labels to make sure people could tell them apart and I also used those labels for the reindeer snacks and on the hot cocoa tree.
To coordinate the kid’s table with the dessert table, I added another snow covered tree and wintery garland. I made ornaments out of the printable party logos by adding kraft paper backing and twine to each circle. I also added a “Happy Holidays” laser cut wooden piece, which I again painted red, and used it to act as my tree topper.
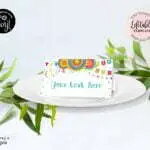
To indicate place settings I used the folding party labels from the printable collection. I customized them with each child’s name and used a toothpick to stand them in the garland in front of each place setting.
For tableware I used plain red plates from Party City and kraft dessert scalloped plates from Meri Meri. I love dressing up wooden cutlery so I wrapped the snowflake party flags from the Anders Ruff printable collection and kraft paper around the cutlery to give them some character. I also used the “Merry Christmas” party flags from the printable collection to add holiday cheer to the milk bottles. I wrapped the flags over red and white chevron washi tape to tie in the details from the printables and also to make sure the bottles were reusable. I found the kraft paper and red polka dot straws at Tuesday morning.
I loved creating this winter wonderland celebration; it’s definitely an escape for those of us who may not get a White Christmas. I hope it gives you some inspiration for the holidays and you all have a wonderful holiday season!
Vendor Credits:
- Event Design, Styling and Photography: Partyography By Alli
- Rustic Holidays Printable Designs: Anders Ruff
- Snow flocked trees, garland, and kraft and polka dot straws – Tuesday Morning
- White cake stands – HomeGoods
- 2 White deer- Costco
- Red baskets- Target
- Kraft gable boxes, laser cut wooden phrases and snowflakes, milk bottles, red and kraft colored twine, plastic ball ornaments, and red ceramic bowls – Michaels
- Red plates and napkins – Party City
- Kraft scallop plates – Meri Meri
- Wooden Cutlery – Container Store
Follow Partyography on social media for more party ideas and step-by-step videos on how to DIY your next amazing party!
Want to know how to make a decoration that I don’t have a video for yet? Leave a comment and I’ll try to include it in my next party.
All photos by Partyography.